
Add a content-type
Description
A simple tutorial introducing the basics of Plone development.
In this tutorial we add a custom content-type.
Plone comes with built-in content-types like Collection, Event, File, Folder, Image, Link, News Item, and Page. If you need a custom content-type, you can extend an existing content-type, or create your own from scratch. In this example, we'll create a simple archetypes based content-type from scratch.
Deprecated since version may_2015: Use bobtemplates.plone instead
Note
Using paster is deprecated instead you should use bobtemplates.plone
Install code template with ZopeSkel
-
First, we'll change our working directory to the project we created above.:
# from your buildout directory
cd src/example.helloworld
-
Use paster to create a content-type skeleton. Paster is included with ZopeSkel.:
../../../bin/paster addcontent contenttype
-
Again, you'll be asked a series of questions. Use Person for the contenttype_name.:
Enter contenttype_name (Content type name ) ['Example Type']: Person
Enter contenttype_description (Content type description ) ['Description of the Example Type']: Simple Person Content Type
Enter folderish (True/False: Content type is Folderish ) [False]:
Enter global_allow (True/False: Globally addable ) [True]:
Enter allow_discussion (True/False: Allow discussion ) [False]:
This creates a few files, and edits some others. For our purposes, the most important one is person.py contained in the src/example.helloworld/example/helloworld/content/ directory. Open this file in your text editor.
Build the content-type
Edit PersonSchema inside person.py so it looks like this.:
PersonSchema = schemata.ATContentTypeSchema.copy() + atapi.Schema((

    # -*- Your Archetypes field definitions here ... -*-
    atapi.StringField(
        name='hello_name',
        required=True,
        widget=atapi.StringWidget(
            label='Name',
            description='Please enter your name.',
            visible= {'view': 'visible', 'edit': 'visible'},
        ),
    ),

))
This adds a new field to our schema named hello_name. It is a string filed, and is required. It is visible on both the view and edit pages.
Restart your instance to have access to the new content-type.:
# from your buildout directory
./bin/instance restart
Add content to the site
To create a new object using the new content-type, select Person from the Add new... menu of your Plone site. This brings up the edit view.
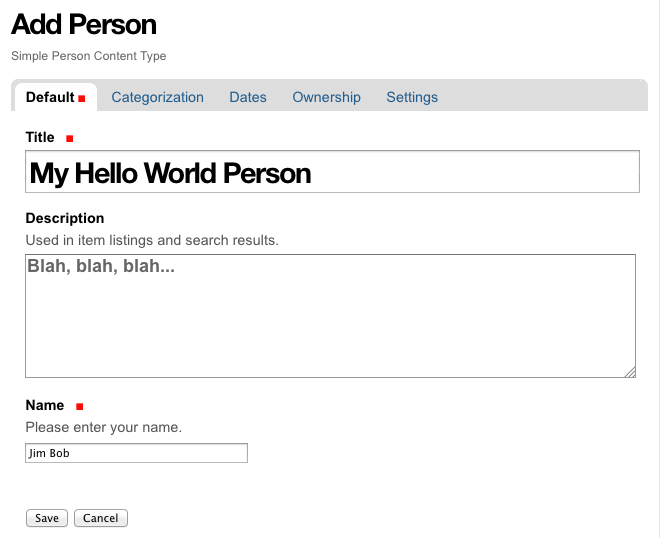
Fill in the fields and click Save. This brings up the view view.
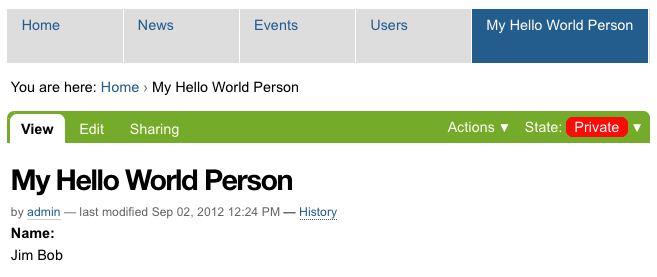
You should see an info message telling you your changes were saved, and a new tab in the navigation bar with the title of your object.
Notice the State menu on the right hand side of the green bar. It tells you your content is Private, meaning only you can see it. You need to select Publish from the State menu.
Also notice the url of the page. It is based on the Title of the object, with two main differences. The letters are all lower case, and spaces are turned into dashes.:
http://localhost:8080/Plone/my-hello-world-person/
For more information about content in Plone, see the Content management section of this manual. For more information about content types, see Content Types.