This page contains info for using Deliverance theming
proxy with Plone.
Deliverance moves items from your Plone site into
placeholders in your theme, without touching the Plone
site or the theme.
Deliverance is a universal tool to theme HTML, applying
a consistent style to applications and static files
regardless of how they are implemented and with what
technology.
Deliverance extracts pieces of content from your Plone
site generated output and puts those into named
placeholders in the theme's resulting template.
This is accomplished without touching the Plone site or
the theme that is used within the Plone itself.
Some of the benefits:
-
A designer can create a Plone theme without any
specific knowledge of Plone's specific technology
-
A single theme can apply to multiple backend web
applications regardless of what platform they were
developed for
You can read all about Deliverance in more detail but it
is not necessary to follow this tutorial.
Read
Deliverance Documentation.
This tutorial was developed based on slides from the
Plone Symposium East 2009 presentation
"Deliverance: Plone Theming Without the Learning
Curve".
Full slides are
available.
In order to follow the steps in this tutorial you must
setup and install Plone and Deliverance. This is easily
done by using the tutorial buildout.
A python2.4 runtime is required in order to follow this
tutorial. In order to follow the steps described in this
tutorial checkout the pre build buildout file from
http://svn.plone.org/svn/collective/deliverancedemo/trunk/:
svn co http://svn.plone.org/svn/collective/deliverancedemo/trunk/ tutorial
Enter the directory and run the buildout process:
cd tutorial
python2.4 bootstrap.py
./bin/buildout
If you have problems with the buildout, in particular,
compiling libxml2 on your Mac, please refer to the next
section in this documentation.
Next let's run an install step that will create a Plone
instance called 'Plone' that we'll use for testing:
$ ./bin/buildout install demosite
If you have problems with the buildout, in particular,
compiling libxml2 on your Mac, please refer to this
documentation.
If you get the error
ImportError: Failure linking new module at startup
(lxml).
This has only been witnessed on Mac OS X. It usually
means that the build found some existing 'libxml2' or
'libxslt' instead of the one that's compiled by the
buildout. It's unclear how this happens, but it can be
resolved by manually setting the MacOS
``DYLD_LIBRARY_PATH``. For example, if your cwd is the
``buildout`` directory:
export DYLD_LIBRARY_PATH=`pwd`/parts/libxml2/lib:`pwd`/parts/libxlst/lib:$DYLD_LIBRARY_PATH
Then restart the servers.
You can also compile libxml and libxslt as part of the
buildout, and then link lxml to these locally built
parts. In your buildout.cfg file:
parts =
    ...
    libxml2
    libxslt
    lxml

[libxml2]
recipe = zc.recipe.cmmi
url = http://dist.repoze.org/lemonade/dev/cmmi/libxml2-2.6.32.tar.gz
extra_options = --without-python

[libxslt]
recipe = zc.recipe.cmmi
url = http://dist.repoze.org/lemonade/dev/cmmi/libxslt-1.1.24.tar.gz
extra_options = --with-libxml-prefix=${libxml2:location}
                 --without-python

[lxml-environment]
XSLT_CONFIG=${buildout:directory}/parts/libxslt/bin/xslt-config
XML2_CONFIG=${buildout:directory}/parts/libxml2/bin/xml2-config

[lxml]
recipe = zc.recipe.egg:custom
egg = lxml
include-dirs = ${libxml2:location}/include/libxml2
               ${libxslt:location}/include
library-dirs = ${libxml2:location}/lib
               ${libxslt:location}/lib
rpath = ${libxml2:location}/lib
        ${libxslt:location}/lib
environment = lxml-environment
The buildout has created Plone and Deliverance instances.
To view the demo and follow the tutorial we need to start
both.
To start plone after the successful buildout:
View your Plone site at
http://localhost:8080/Plone
Now that your Plone site is up and running, you can start
the deliverance proxy server:
$> ./bin/deliverance-proxy rules.xml
Deliverance will be available on port 5000.
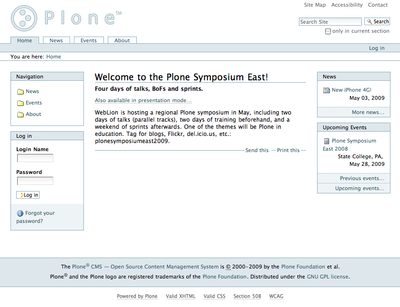
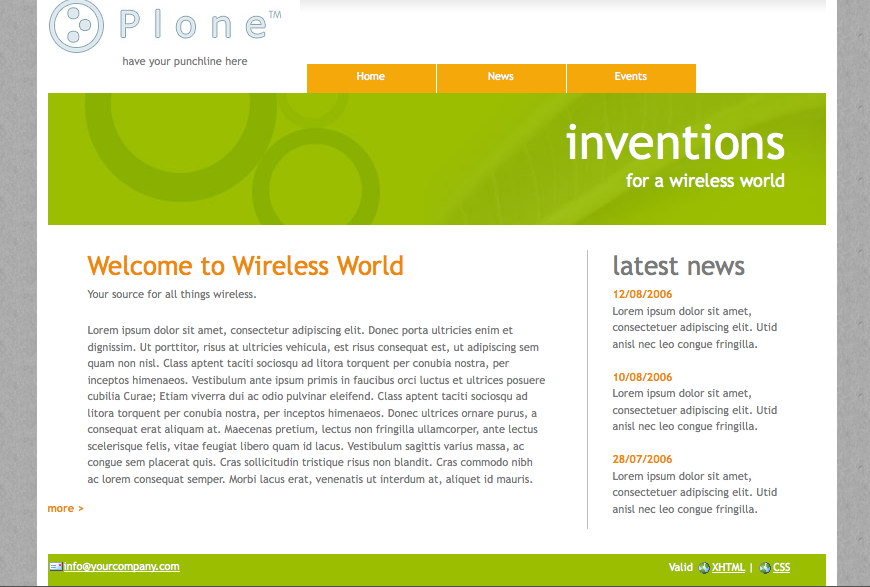
Check out the new visual appearance of your Plone site on:
http://localhost:5000
As you can see the theme looks completely different from
the Plone site. For every request you make to the
Deliverance proxy, Deliverance requests the pages from the
Plone site and inserts parts of the Plone page into the
defined them, all based on the directions in the
rules.xml.
If you want to follow along with the tutorial, then
restart delivance like so:
$> ./bin/deliverance-proxy rules-tutorial.xml
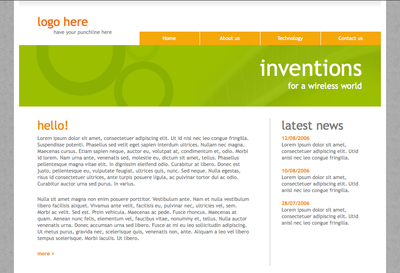
The theme used in this example is taken from the Open
Source Web Design site (
http://www.oswd.org/design/preview/id/3293
)
We have modified it slightly to have explicit CSS
identifiers for the main content text area, rather than
a generic paragraph. While this was not necessary, it
was preferable for the purposes of keeping this tutorial
straightforward.
The theme files are located in
static directory.
Example:
#!bin/bash
#
# Run in /srv/plone/yourbuildoutfolder as plone user
#
# Deliverance will run in port 9000
#
# 1. Login http://yoursite.com:9000/.deliverance/login admin/x
#
# 2. Get debug output http://yoursite.com:9000/?deliv_log

# Deliverance Python files are added to PYTHONPATH
# and they are maintained under SVN version control
export PYTHONPATH=src/plonetheme.yoursite/deliverance
# Start virtualenv tuned for deliverance
source deliverance-install/py25/bin/activate
deliverance-proxy src/plonetheme.yoursite/deliverance/etc/deliverance.xml
For rundeliverance.sh see above.
Example:
#!/bin/sh
# Restart script
sudo -H -u yourdeliveranceuser kill `cat path/to/deliverance/var/deliverance.pid`
sudo -H -u yourdeliveranceuser nohup bash rundeliverance.sh &
Deliverance stores it's configuration in a .xml file.
This file has to be parsed to the deliverance process -
in the introduction it was passed as the first argument
as rules.xml.
The rules.xml file consists of different
sections:
- server settings
- proxy definition
- the rules
The server-settings section is used to define connection
relevant settings like the IP address and the port used
by deliverance.
<server-settings>
  <server>127.0.0.1:5000</server>
  <execute-pyref>true</execute-pyref>
  <dev-allow>127.0.0.1</dev-allow>
  <dev-user username="guest" password="guest" />
</server-settings>
The proxy definition defines where deliverance retrieves
it's content
<proxy path="/" class="plone">
  <dest href="http://localhost:8080/VirtualHostBase/http/localhost:5000/Plone/VirtualHostRoot/" />
</proxy>
(note: maybe small explanation about the class, it maps
the rules to the path?)
Deliverance uses a rules file to govern the merging. We
use CSS selectors to identify elements to act on.
Rules are verbs of common actions
-
<drop> - Removes elements from the theme or the
content.
-
<replace> - Replaces something in the theme with
elements from the content.
-
<prepend> - Prepends content to an element in
the theme.
-
<append> - Appends content to an element in the
theme.
Rules tell Deliverance how to map the content into the
theme.
<rule class="plone">
  <theme href="/static/index.html" />
  <replace content='/html/head/title' theme='/html/head/title' />
</rule>
In this tutorial we will add several rules to integrate
our sample theme with Plone.
Style the Logo and Navigation parts.
For demonstration purposes we will replace the theme's
logo with the Plone's default logo.
This will demonstrate how images can be replaced using
Deliverance, as would be the case with some generic
downloadable skin.
Note
in most real cases you would want to have the final
logo to be a part of your chosen theme. This is
because these sorts of graphics are typically part of
the branding effort developed as part of the overall
custom theme design - so an appropriate logo would
likely be included in the theme already.
We have verified that the Plone element for the logo is:
#portal-logo img
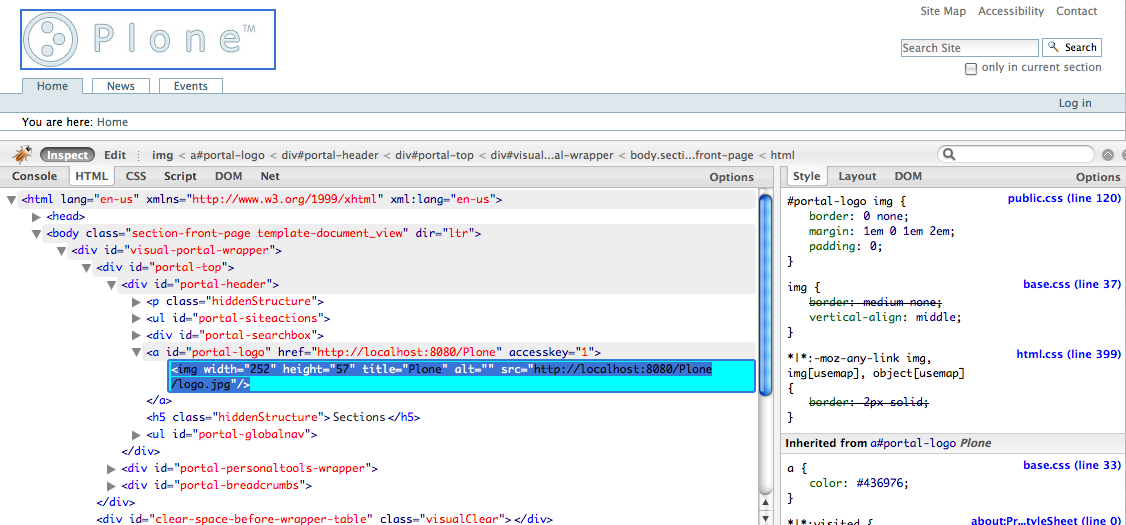
We want the image coming from Plone to replace the
default logo as it is defined In the theme.
To do this we have identified the selector for this
element in the Theme to be: #logo h1
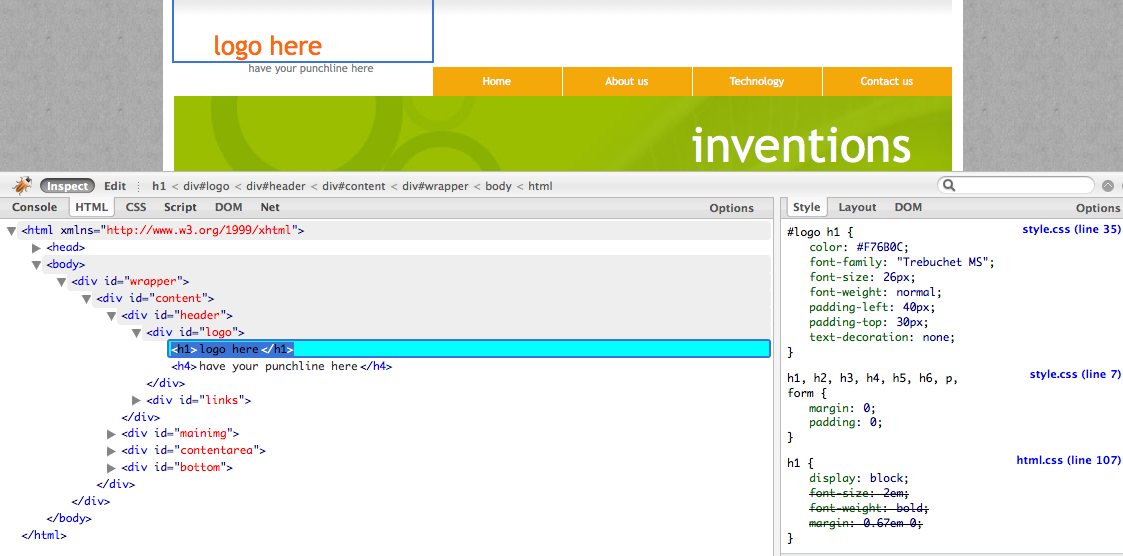
In the rules file add this command:
<replace content='#portal-logo img' theme='#logo h1' />
This rule replaces the theme's default logo with the
stock logo from Plone site.
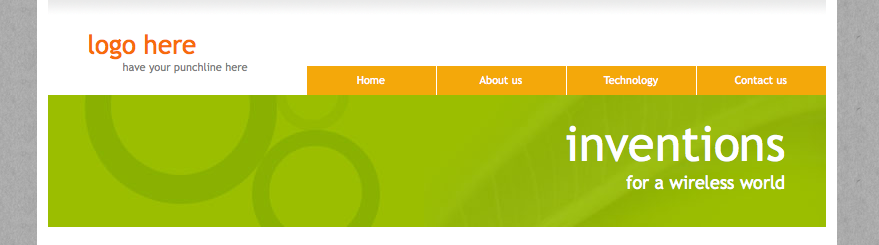
As a result, Plone's default logo has effectively
replaced the "Logo Here" image from the theme.
First fnd the element in the Plone site that represents
the individual tabs in the top navigation:
We have verified that the Plone's element of interest
here is: children#portal-globalnav
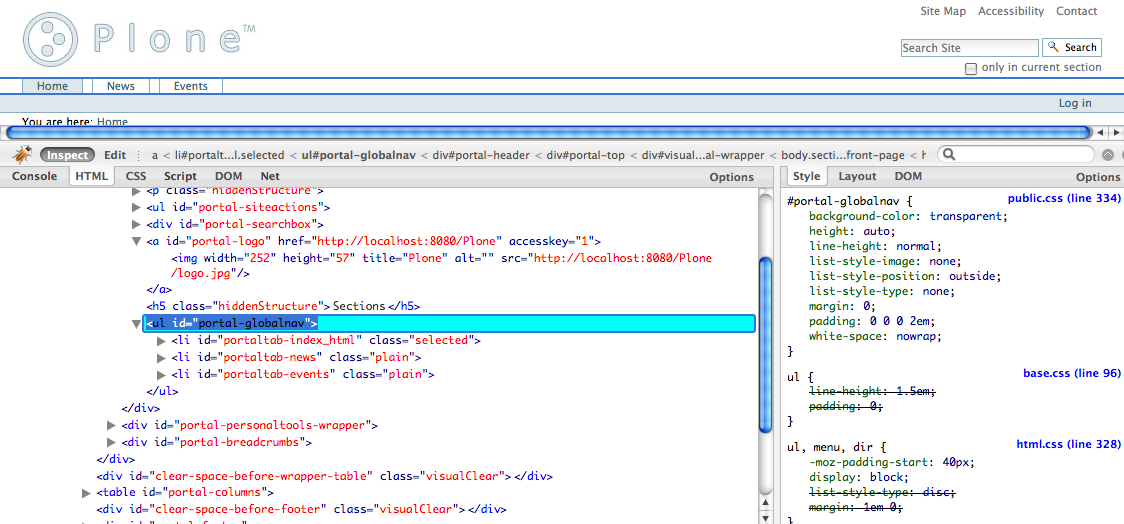
The corresponding placeholder in the theme is:
children:#links ul
Here is a screenshot related to
children:#links ul (those are all of
the "li" elements) in the
Theme's own HTML.

The rule is:
<replace content='children:#portal-globalnav' theme='children:#links ul' />
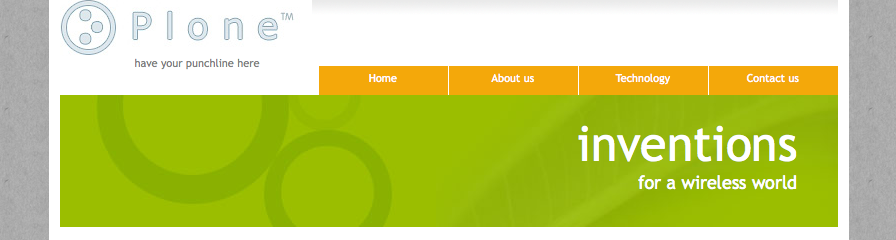
The theme's own tabs as they looked
before the rule was applied:
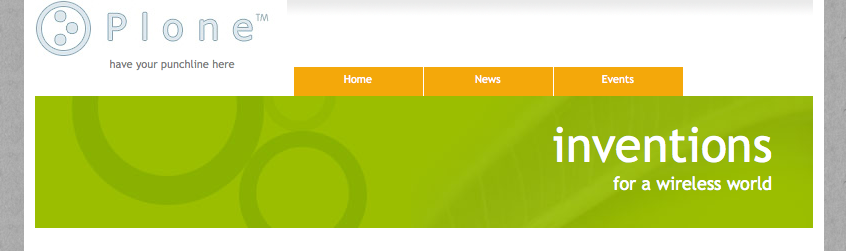
The theme's new tabs pulled from Plone, as they looked
after the rule was applied:
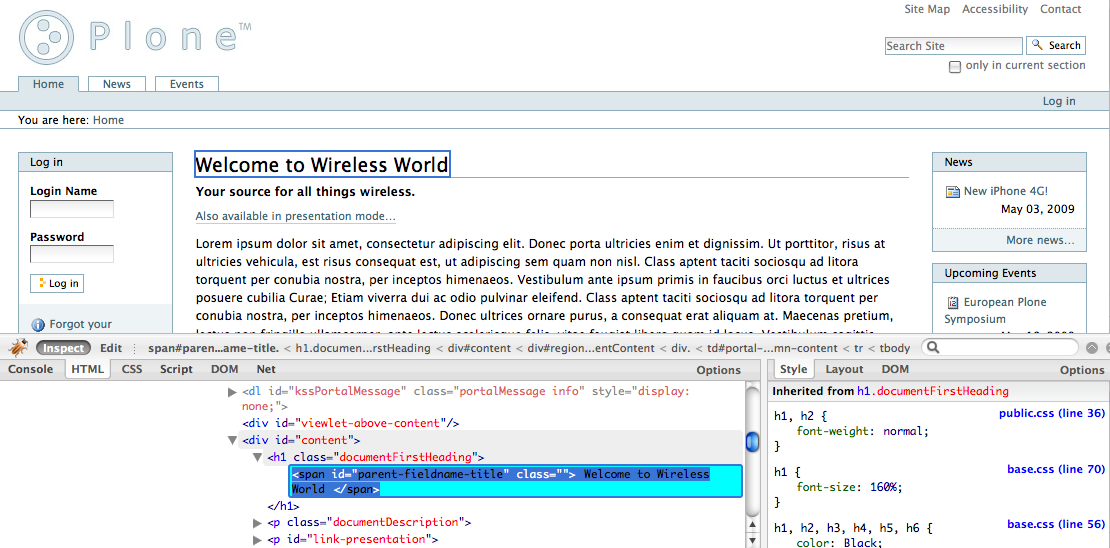
Let's incorporate the Page heading, description and body
text into the result.
Find the element in the Plone site's HTML output that
represents the page heading, and use the
children: keyword with it, so it is:
children:#parent-fieldname-title
We use the Deliverance
children selection type which applies
only to the children of the element selected, since we
just want the text of the heading (we do not want the
selector itself).
Screenshot related to
children:#parent-fieldname-title in the
Plone's HTML:
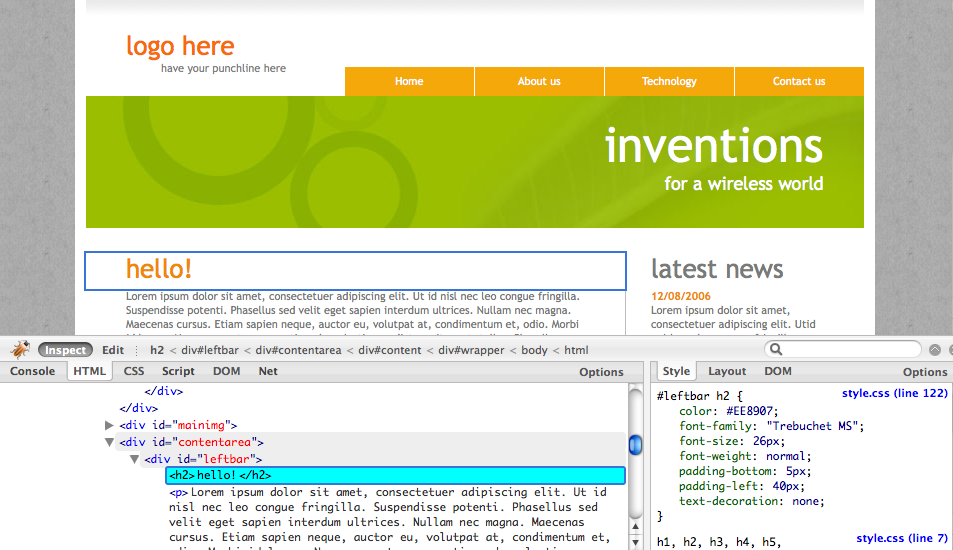
Now we need to find the corresponding element in the
theme:
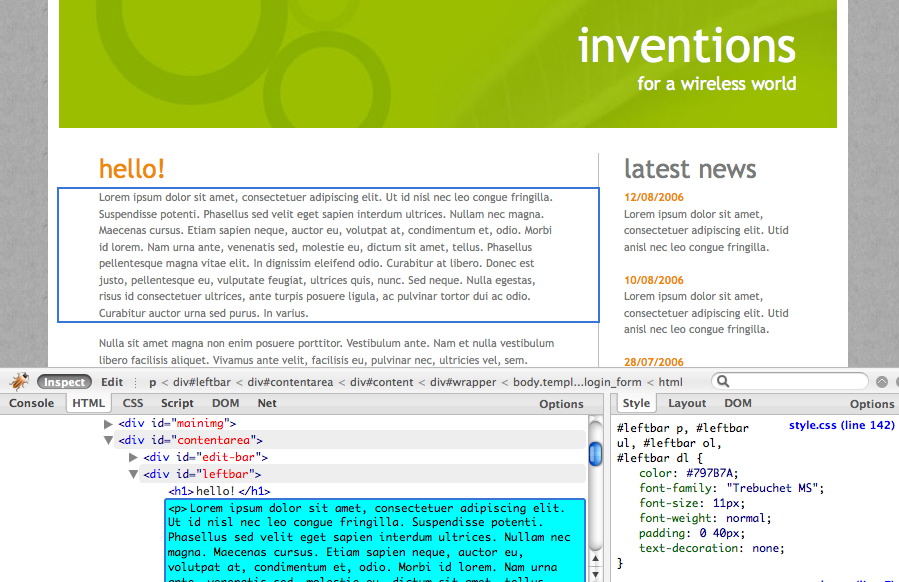
children:div#leftbar h1
This is the
*"hello!"* heading in the
theme which we want to replace with the actual page
heading.
Screenshot related to
children:div#leftbar h1 in the Theme's
HTML:
The rule we must use to replace the placeholder page
heading with the page heading coming from Plone is:
<replace content="children:#parent-fieldname-title" theme="children:div#leftbar h1" />
Screenshot related to the result of the above rule:
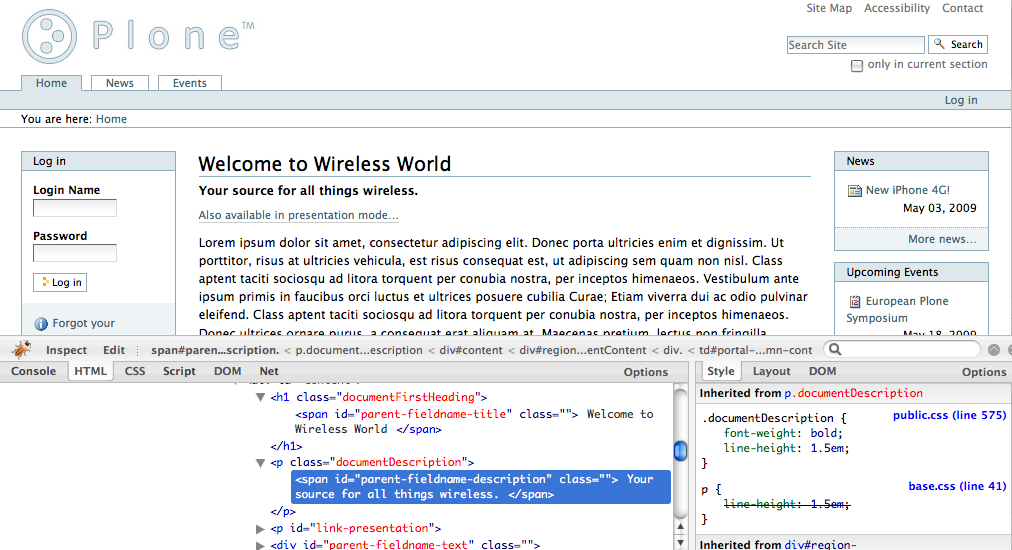
Put the document description in the first paragraph of
the page text.
This is the
*"Your source for all things
wireless"*
string. The element in the Plone site that represents
the description is:#parent-fieldname-description
Screenshot reference for the above:
Screenshot reference for the Theme below:
Please note there was originally no
#description in the theme. We have
modified it to make it simpler so no XPath references
are needed in this tutorial.
In this case we want to replace the contents of the
theme's #description:
<replace content='children:#parent-fieldname-description' theme='children:#description' />
The "after" screenshot is below:
Find the element that represents the body text in our
Plone site, it is
#parent-fieldname-text, but for our
rule we will use:
children: #parent-fieldname-text
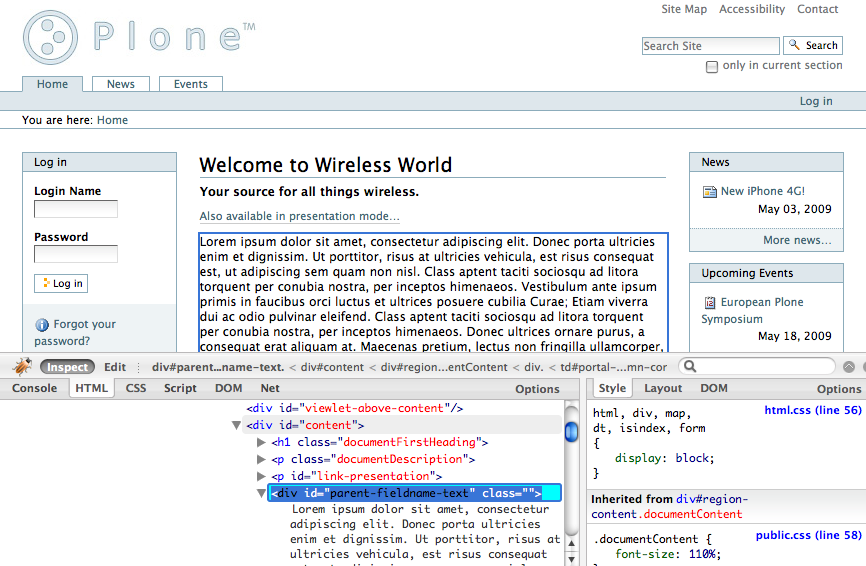
The corresponding placeholder in the theme is the block
of text starting with
*"Lorem ipsum dolor..."*:
#bodytext
<replace content="children:#parent-fieldname-text" theme="#bodytext" />
Our astute reader will note that we do not use the
children: selection in the theme. This is because the
theme author has chosen to use a
<p> tag as the
#bodytext section. Because the Plone
content includes <p> tags itself
we choose to replace the entire tag in the theme.
The "after" screenshot is shown below - the
second paragraph (below description) that starts with
*"Lorem Ipsum..."*
The theme has a *"more"* link
which we do not wish to use at all.
In order to eliminate it we will use Deliverance's
<drop> action.
The *"more"* link is
contained with the div identified as:
#more
This rule drops the entire div from the resulting page: