
Inserting Images
A description of the options available for inserting images with TinyMCE.
The TinyMCE editor allows you to insert image files stored
in Plone into your document, using the
 button on
the TinyMCE toolbar:
button on
the TinyMCE toolbar:

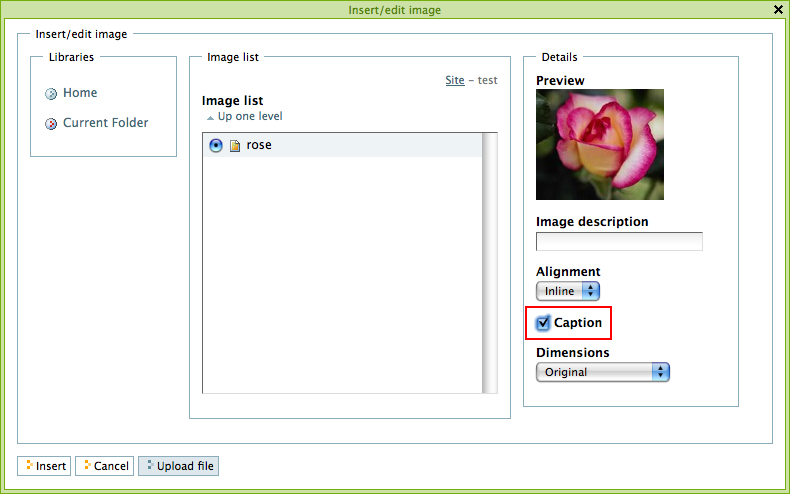
Clicking this button launches the Insert Image dialog:
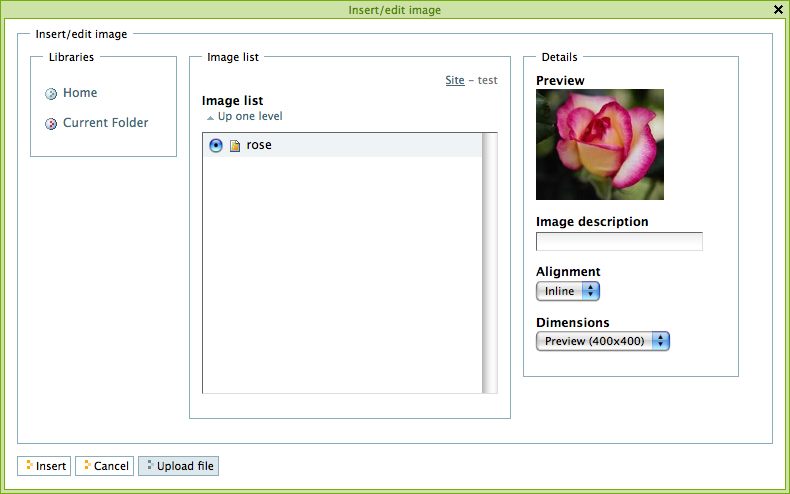
The three columns of the dialog display:
- In the first column - a folder navigation list.
- In the second column - an object navigation list, from which you can select your image file.
- In the third column - image preview, and options for alignment, size and captions.
In the example above, an image of a rose was selected - rose.png (rather large one, at its original size of 600*450 pixels).
According to the "Image alignment" option you choose, the image will be placed in your page (and the following HTML code will be generated):
- lefthand (<img class="image-left captioned" src="rose.png" alt="rose" />);
- righthand (<img class="image-right captioned" src="rose.png" alt="rose" />);
- inline (<img class="image-inline captioned" src="rose.png" alt="rose" />).
You may also choose the size of the image you need. This is especially convenient when you deal with large images, as there is no need to use Photoshop or other external image editing application to crop or change the size of an image. The "Image size" dropdown list provides a choice between many sizes and formats:
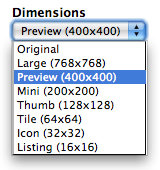
- Large (<img src="rose.png/image_large" alt="rose" />);
- Preview (<img src="rose.png/image_preview" alt="rose" />);
- Mini (<img src="rose.png/image_mini" alt="rose" />) - the minimum-size image is formed;
- Thumb (<img src="rose.png/image_thumb" alt="rose" />) - a thumb(inch)-size icon is made out of your image (little bigger than 2,5cm);
- Tile (<img src="rose.png/image_tile" alt="rose" />) - a tile is made out of your image;
- Icon (<img src="rose.png/image_icon" alt="rose" />) - an icon is made out of your image;
- Listing (<img src="rose.png/image_listing" alt="rose" />) - a listing icon is made out of your image;
Image Captioning
It is possible to put image caption under the image in TinyMCE. Caption is taken from image description. Alt text is taken from image title. Alt text and caption update if image is updated.
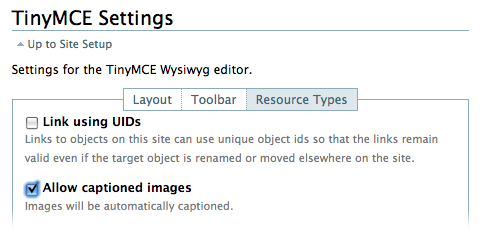
To enable image captioning go to Site Setup → TinyMCE. Make sure that you have Allow captioned images selected in the Resource Types tab.
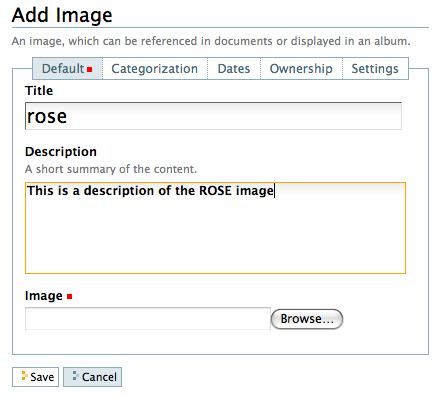
When you add image to the site, you can put some text into its description that will be displayed as an image caption.
Now when we create a page, and insert image into it, check the box Caption:
Save this page, and you will see the image followed by its description as the caption all inserted into a frame:
