
Skin Layers
Templates, scripts, images, CSS and JavaScript files are organized with skin layers.
Note: in the context of components, "layer" has a slightly different meaning.
A skin is comprised of a series of skin layers. On the file system, each layer is a directory. In the Zope Management Interface (ZMI), each layer appears in portal_skins as a separate folder (containing page templates, style sheets or Python scripts).
These have two uses.
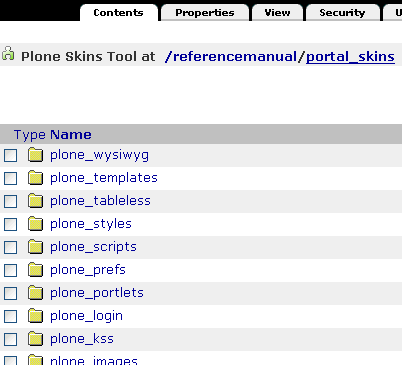
- Firstly they keep things organized. If you take a look at the Plone Default Skin (part of which is shown in portal_skins in the screenshot above) you'll see that they've separated out templates, scripts, styles and images into separate skin layers.
- More importantly they have an order of precedence. This means that an item named main_template in the top layer will be found and used before an item named main_template in the bottom layer. We will go into this in more detail on the next page.
To create a skin layer through the web, simply add a new folder. On the file system, add a directory to your skins directory. You will also need to add a small amount of configuration to ensure that your directory is found and registered as a skin layer on installation.
Firstly, in [your theme package]/skins.zcml
<cmf:registerDirectory
       name="[Your Skin Directory Name]"/>
Next, in [your theme package]/profiles/default/skins.xml
<object name="[Your Skin Directory Name]"
    meta_type="Filesystem Directory View"
    directory="[your namespace].[your theme name]:skins/[Your Skin Directory Name]"/>
and
<skin-path name="[your skin name]" based-on="Plone Default">
  <layer name="[Your Skin Directory Name]"
     insert-after="custom"/>
 </skin-path>